SADALAS HAND EMBROIDERY

SADALAS HAND EMBROIDERY
Lakshmi Sadala

Friday 25 October 2013

Tutorial: Coin Work

 Coins are made with metals which come in different size and shapes. They are also called as antique kundans. Here I have used round coins in my tutorial.You can stitch  round mirrors in place of coins.
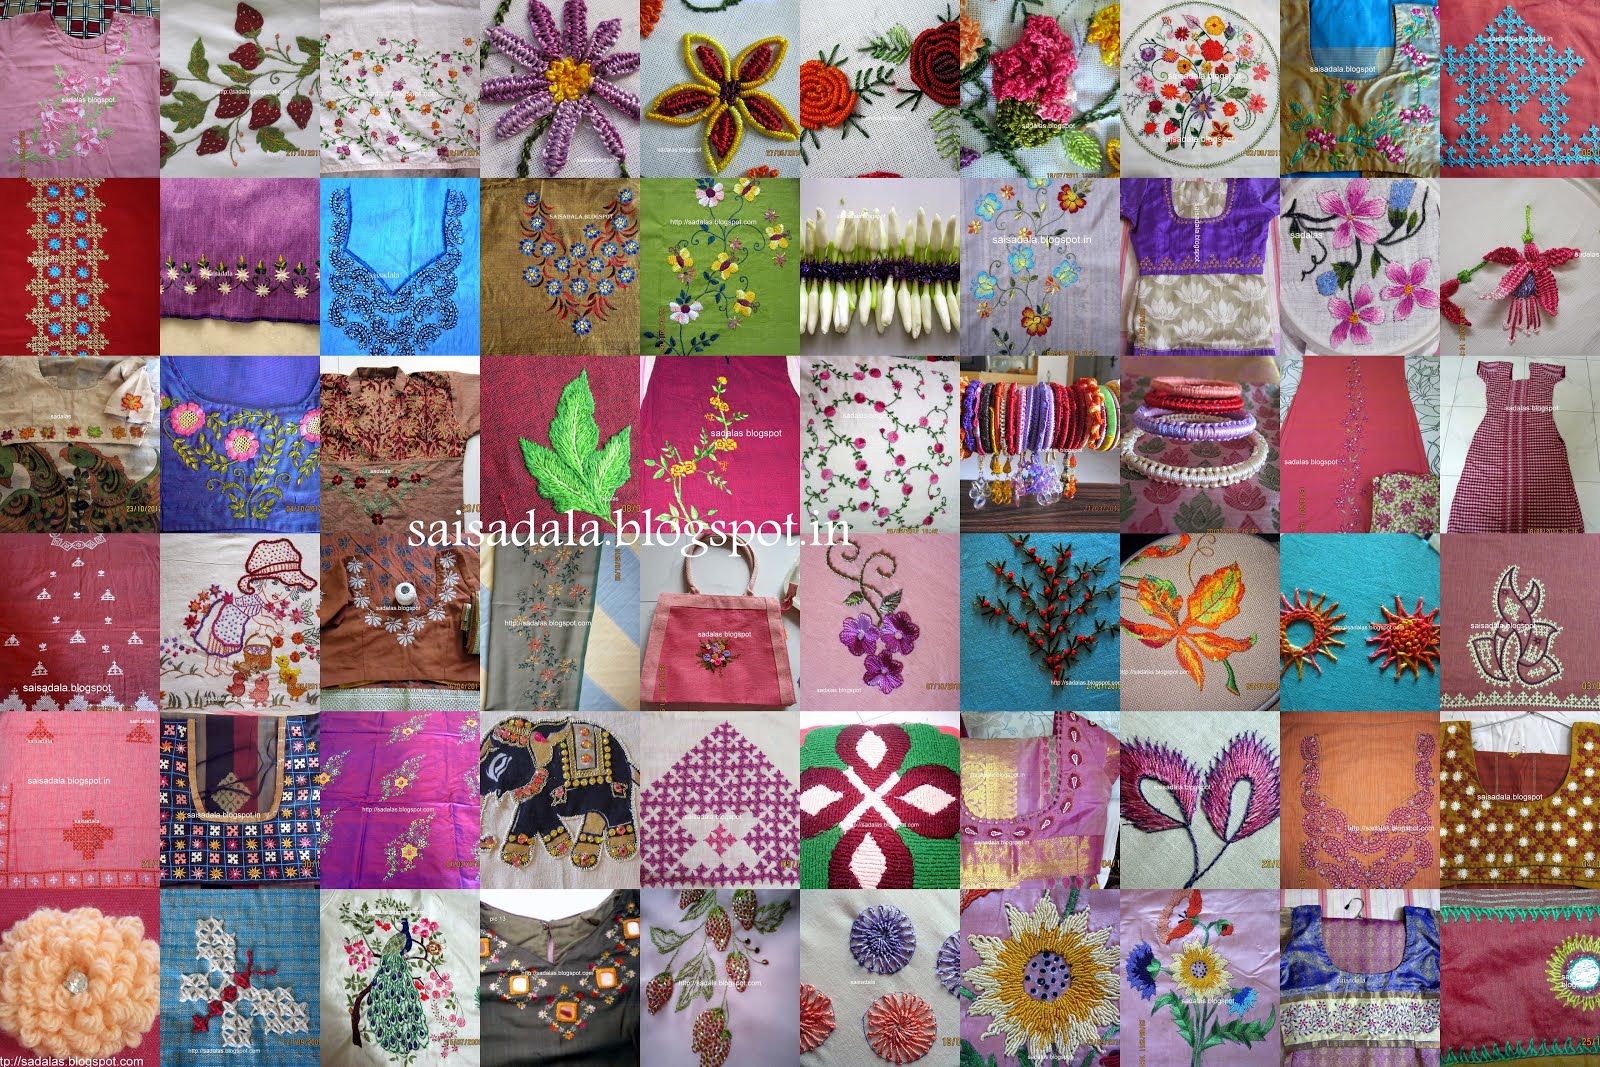
You can see my simple project with coins here.
 Putting the coin/shisha on fabric draw a circle around it.
(I have drawn one more circle to add further decoration to the stitch. so please ignore it.)
work chain stitch all along the marked circle. Take care to stitch uniform chain stitches.
Then bring up the needle from the centre of any chain stitch.
Start working detached buttonhole stitches through the chain stitches towards the centre of the circle.
after completing the half of the circle..
.. place the coin inside it like in the pictures and complete the circle.
I  skipped to add few more pictures of the tutorial as I am  uncomfortable with my pigmented nails showing in the pictures.

 Then stitch one more round of detached chain stitch and pull the thread tightly so that the coin is fixed firmly. This part is very important. If you want you can stitch one more round of detached chain stitch. To anchor the thread you slip the needle under the stitches and bring down the needle and anchor the thread.
You can decorate it with many other stitches. There are plenty of options to decorate a shisha.

Here I have used chemanthi stitch variation to decorate the coin.

Saree Blouse: Coin Work

I worked simple coin work on a saree blouse. These coins are also called antique kundans.I have used chain stitch method to attach coin like in shisha work. We can use round shisha/kundan in place of coins.
I have taken the picture to show you how to fix the coins and I will post  tutorial in my next post.
After fixing the coin I have used chemanthi stitch variation to decorate it. Muvvala kuttu , satin stitch and stem stitch are the other stitches used.
I have used 2 strands of anchor cotton thread.


for sleeves


Tuesday 22 October 2013

Saree BLouse: Satin and Long n short

I have to admit that many a times my ideas goes wrong. This is one such experiment which could not give me satisfaction though my daughter said it is nice mommy!!!.

Need not to say this work is for my daughter. I bought the saree which is having geometrical shape prints all over the saree. My plan was to make satin stitch with all those geometrical shapes. I didn't plan any colour combination and just stitched.  After stitching one motif the stitches became loose  when the hoop was removed. I could not wash the other  prints because the design was made with charcoal powder by chaapa method. So I finished the other 4 motifs with both satin and long and short stitch.
 I think I never told you how I do satin stitch. I don't follow usual way of stitching  satin stitch. Will try to make a tutorial, probably after I copy all my old blog contents to this new one.


Saturday 19 October 2013

Tutorial: Turkey Work

Today I am showing you how to do Turkey work, both cut and uncut turkey works.
For this you need plastic Tongue cleaner, wool, big eyed blunt needle(which are used in ribbon work/kamal work) and matty( aida) cloth.

You can see my turkey work projects here.
matty/aida cloth

Tongue cleaners


I usually use this matty for turkey work


Start working from top of the design.
Bring down  the needle from left hole of aida and pass it to the right hole of the aida
 ..and pull the needle leaving the tail of about 1cm.
 Then pass the needle from right to left hole like in the picture..
and pull it through like in back stitch
Now place the tongue cleaner horizontally along the working row and hold it under your thumb.
 Holding T.C under your thumb wrap the wool around T.C and then make back stitch in the next  hole like in the picture
 then without wrapping the T.C make back stitch from next hole. This makes the loop sit firmly. There complets one turkey knot.
 Again wrap the wool on T.C and make a back stitch . Make one more back stitch without wrapping the T.C. Like this complete one row. after completing the row of turkey knots pull off the T.C.
Leave next row of holes in the aida and start with the third row, otherwise the  stitches will be dense.
Mark the working row like in picture because sometimes T.C slip down and you may work on next lines( i always face this problem)
complete all the rows

This is uncut Turkey work
To make it more puffy cut the loops like in the picture.

 This is cut Turkey work.
I love cut turkey work.


I have tried Turkey work on even fabric without using T.C.
cut turkey work


uncut Turkey work

Turkey Work

I did many sofa covers when I was in college with Turkey work on aida(matty) cloth.
After my marriage I did one more for Diwan set and few more to gift.
I did many Uncut Turkey works and few cut Turkey  works.
I have only few pictures of them.
uncut Turkey work

cut turkey work

Thursday 17 October 2013

Tutorials: Pachis Work

Pachis work/Pachis kuttu is one popular stitch from Andhra Pradesh.
 The stitch resembles chikan scratch stitch.
This stitch is worked on squares and looks best when worked on  square of size 1cm .
Care should be taken in selecting the proper colour of the threads, then only it looks good.
Usually we use 2 colors of threads for this stitch which are contrast to the fabric and those 2 colours of threads should be in contrast colour to each other.
For your reference I have marked on a big square.

 Bring up the needle at point1
down at 2, up at 3 down at 4, up at 5 down 6, up at 7 and down at 8
and then a work a cross stitch on small square formed after you stitching the base.


I will show you stitching on a small square..Click on the picture to get clear and bigger images.


First step is completed..


Now stitch cross stitch on small square formed in the middle with other color of thread.


here completes one pachis stitch.


Then start with adjacent squares. Care should be taken while stitching now onward. You have to stitch exactly in the same points where 2 points meet. It is better you observe the below diagram. This is the standard pachis kuttu design. We can add creepers and leaves to this design or we can continue stitching the same design for saree borders/dresses etc.
When stitched perfectly like in the above diagram the patchis kuttu which is geometric shape takes beautiful flower formation. Sorry for the poor picture quality.

Since it is easy stitch, less time taking, less colors of threads I have stitched many sarees and dresses to gift my dear ones.
Here are 2 projects done on my tussar saree and mom's silk saree.

Here are few pachis work designs for you.