There are many ways to transfer the design.
If the designs are small and it need to be used only once then I draw it directly on the fabric with pencil(HB) by keeping the design paper under the fabric. In the below picture the fabric is of cotton material. I put the design under fabric and We can see the design right? So it is easy to draw the design on the fabric.
Very rarely I use carbon paper to trace the design.
While doing large amount of embroidery with repeating designs like on sarees, dresses etc chaapa method is the best method.
I will show you how to transfer the design by chaapa method.
For this you need..
1. Trace powder..they come in three colours, yellow white and black. They are available in craft shops. Depending on the colour of your fabric choose relevant colour of trace powder. For example on any light colour choose black trace powder. On dark colour fabrick select white or yellow trace powder.
# You have to note one point here. White and yellow powder easily wash off. Even they will disappear while you are doing embroidery. Black colour trace powder can not be washed off even with dry wash. So you have to be very careful while working with black trace powder.
2. Then you need kerosene ..
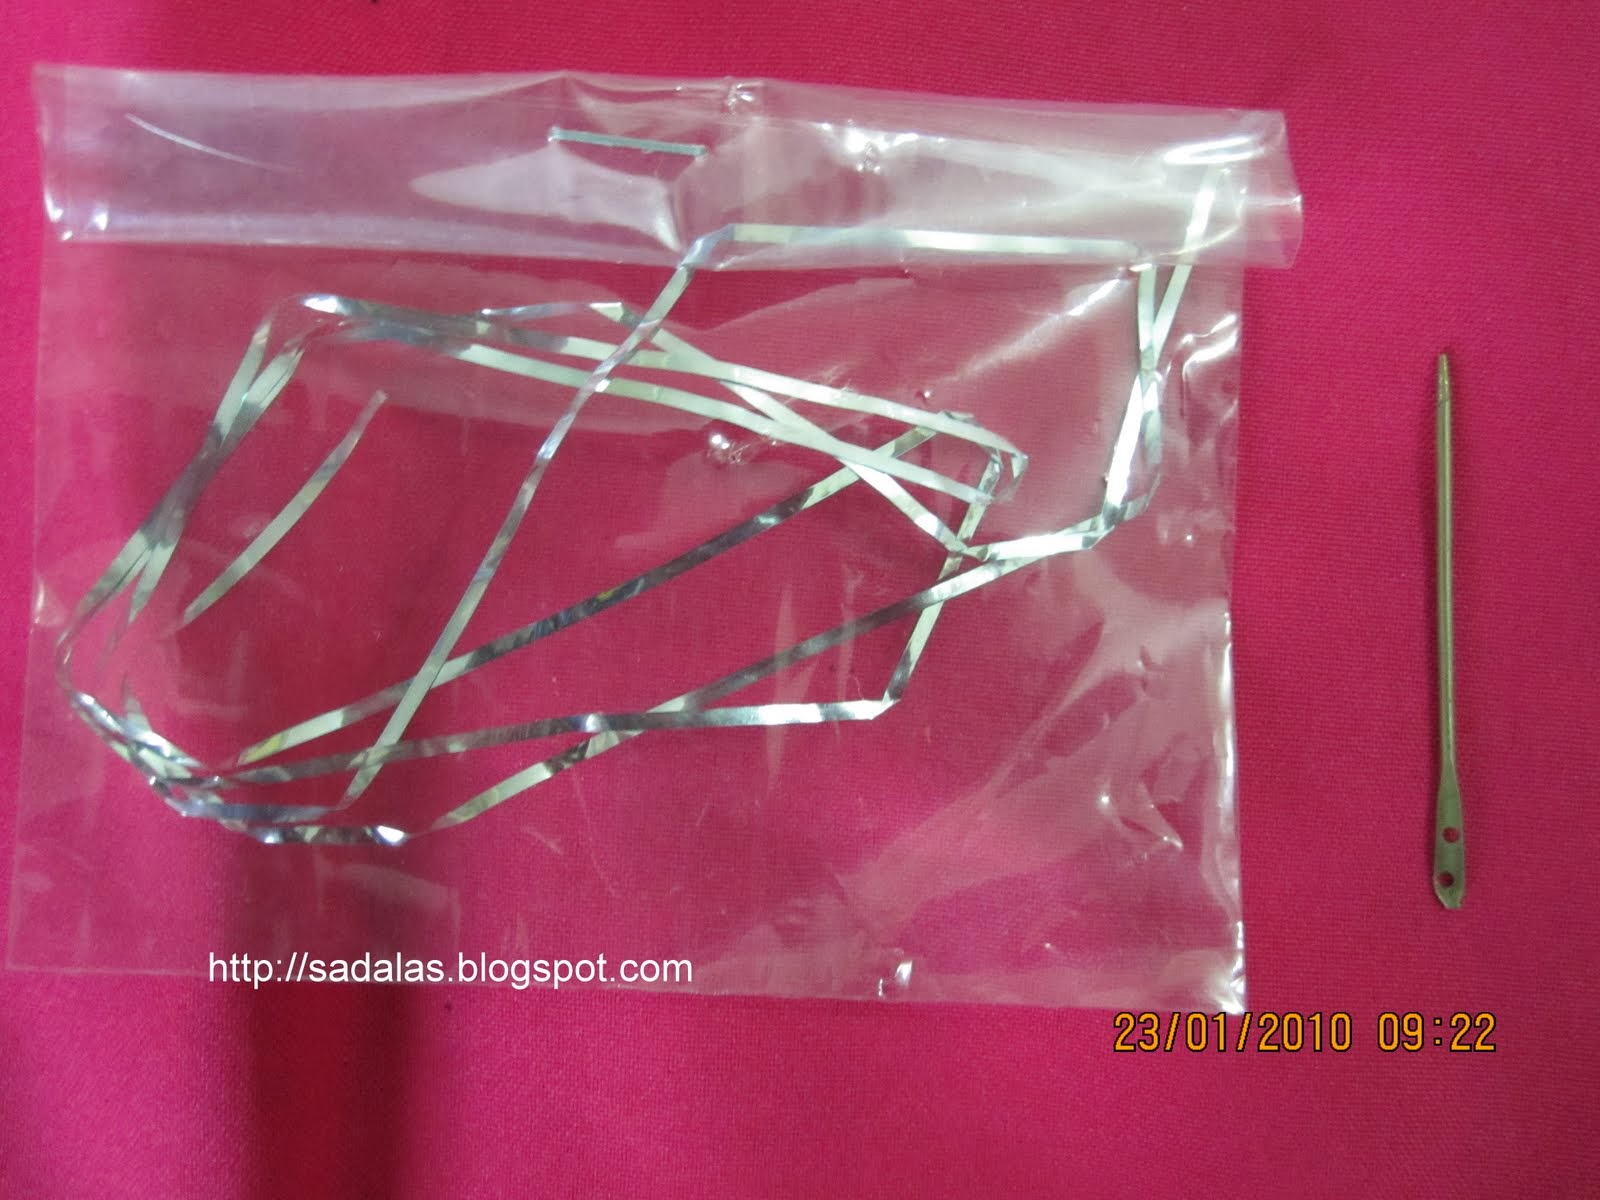
3. you need trace paper which are available in any book shops.
4. You need a small needle preferably hemming needle and a pencil/pen and ofcource design of your choice.
Select a design and trace the whole design on tracing paper in one stretch like in the below video. Don't forget to leave 3-4 inches of space on all the four sides of the trace paper.
Then take a thin cushion or soft bedspread, keep your traced paper on it and make holes all along the design like in the following video. Make holes just side by side but they should not overlap.This is the very important stage where you have to be very careful while pricking the trace paper. I just love the soft sound while pricking the trace paper..:)
In the following pictures you can see how the holes are picked on tracing paper. Take very small hemming needle and wrap it with cotton thread on the other end to hold the grip of the needle while pricking. When the design is big put paper clips on top and left side(only) of the design to hold the design paper and trace paper together since it takes more time to prick big designs.
After pricking the trace paper hold it against to the window light or any source of light so that you can see that the whole design is pricked. Or you can reverse the paper and check
But still some small part of the design may escape. I will tell how to check it in the next steps.
Now take old cotton bedspread, fold it in to four layers and spread it on a table without any creases and wrinkles. Put tracing paper on it. Now take about 3-4 tbs of kerosene. Take waste cotton cloth or a cotton hankie and fold it in to 4-5 layers. Dip it in kerosene and dab it on tracing paper all along the design . Kerosene seeps through the holes and absorbed by the bedspread. This step is optional. I don't skip this step because the tracing paper will sits properly on the fabric while dabbing when it is wet with kerosene.
Mix 1-2 pinches of tracing powder and mix it in 3-4 tbs of kerosene. Dip the waste cotton in it.
# take care that the waste cotton just touches the mixture because it is already absorbed enough kerosene.. Dab it on tracing paper. Kerosene seeps through the trace paper.Bedspread absorbs the mixture. Kerosene evaporates within no time leaving behind the black traces of the design.
# Care should be taken not to shake your left hand while dabbing and while dabbing you have to give strokes in one direction and NEVER to and fro strokes.
# As I mentioned you earlier you have to check one more time whether the whole design is pricked by holding the trace paper against the light. Now you can see the black dots all along the design. If you find any design missed prick it.
Now remove the trace paper and spread your fabric without any creases or folding on the bedspread. Put your design paper on the fabric and dab it with prepared tracing mixture like in the video. Kerosene seeps through the fabric and bedspread. Kerosene evaporates leaving behind the design on the fabric.
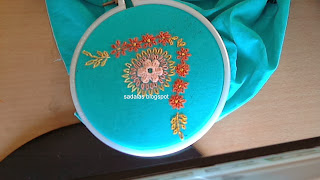
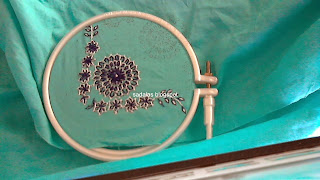
Worked examples with this designs on hankie..

In the below video you can see how I transfer the design for saree border.
I am sorry I can not add the video here so giving the link to my youtube page..
https://www.youtube.com/watch?v=WgwVa6Lp1mI
Below video shows my collections of traced design papers.
I store all the traced design papers for further use. I have lott of them collected since many years. I store them size wise in separate saree boxes.
For those who can not find kerosene they can use thinner which are available from hardware shops. In place of trace powder you can use ashes of burnt paper. I can not recommend them because I never use both of them or I never saw such in person. Only I heard it from friends.
Seems this tutorial is very elaborate which may scare you to try. When you try couple of times on waste fabric you can get the hang of it.
Hope this tutorial helps..if you ever try this leave a comment or link which makes me happy..it is always a nice feeling to share and learn together right!??